
Content
How to Install Laminate Flooring on Concrete Basement Floor
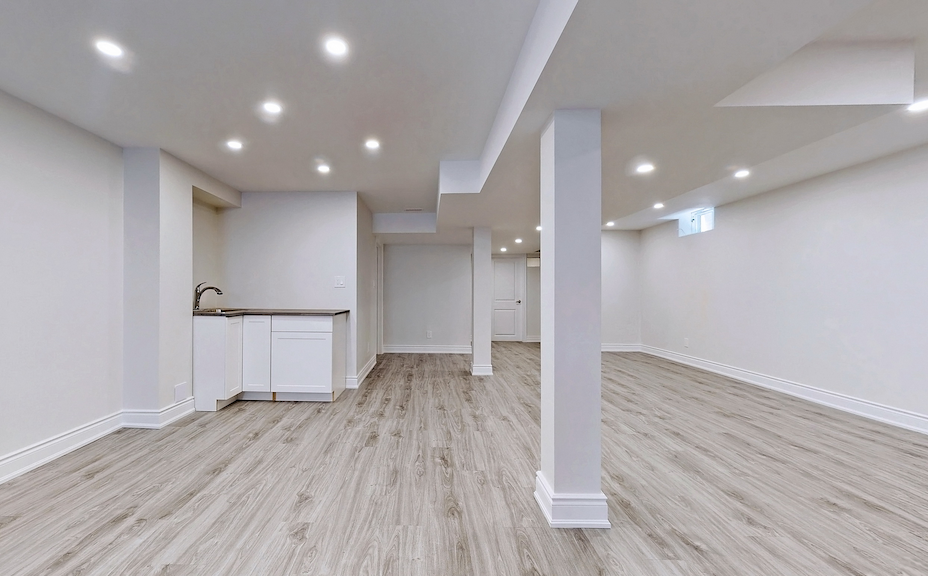
Choosing the right flooring for your concrete basement floor needs to be done with so much care. There are many factors to put into consideration when you want to install laminate flooring over concrete, especially when handling it as a DIY project. The aim is to ensure that the laminate flooring lasts long.
There is a high risk of damage by excessive moisture when laminate flooring gets installed over concrete, this is worth bearing in mind when renovating the basement. Basements are the most humid areas in most homes due to condensation and they’re also prone to flooding. However, if you prepare your concrete basement floor well, laminate is a very practical option. You may also want to consider painting your basement floor.
Why Choose Laminate?
Laminate flooring is a popular option for homeowners. This is thanks to its aesthetics, durability, ease of installation, cost-effectiveness, and scratch-resistant nature. Let’s take a look at other reasons why many people choose to install laminate flooring in a basement:
- Laminate flooring is very versatile. It can be installed almost anywhere, apart from high-humidity areas like bathrooms.
- Laminate flooring is sturdy and usually feels like hardwood at a much lower price.
- Laminate flooring comes in a wide range of looks. Homeowners are sure to find something that works for their homes.
- Laminate flooring is made from wood shavings and plywood. This makes it a healthier option for people with dust-related allergies. If you’ve previously had trouble with PVC, you can’t go wrong with laminate flooring.
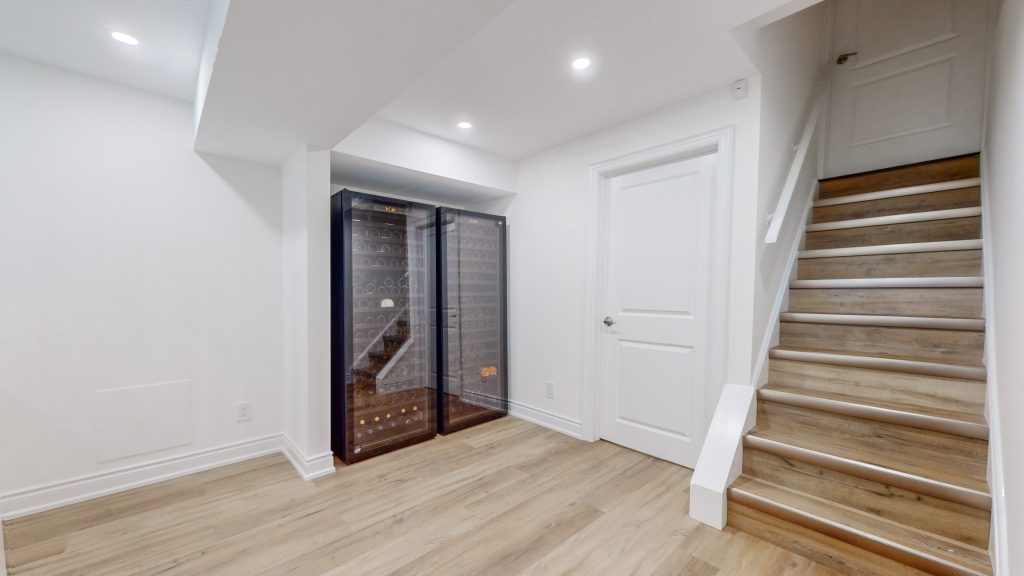
How to Install Laminate Flooring
For long-term performance, check to see that the concrete basement floor is dry, clean, and level. In this comprehensive guide, we’ll give you all the information you need to learn how to install laminate flooring on the concrete basement floor.
Step 1: Providing an even and clean surface for the laminate
Before you install laminate flooring on the concrete basement floor, you should thoroughly prepare the subfloor. If the concrete is new, you should give it about a month to cure. This gives it ample time to give off excess moisture.
If the concrete floor is already installed, you should check for dryness, cleanliness, and level. Ensure that the floor is dry and free of dirt or any other unwanted particles. Lastly, check that the surface is smooth and level. Dips and bumps create problems later on because the floor starts squeaking and can easily come off. Cracks and uneven low spots need to be filled while all raised imperfections are eliminated.
Step 2: Protecting the laminate from moisture
Contrary to popular belief, moisture can penetrate even hard materials like concrete. If you don’t install a moisture barrier, moisture vapor causes the laminate flooring to warp over time. Since the decorative top surface is usually waterproof, the underside is made of wood particles. When exposed to moisture, they tend to deform and rot from below.
To avoid these problems, always choose the right underlayment. An underlayment helps the laminate flooring become more water-resistant. Some ideal underlayment options include vinyl-backed, foam barrier, and cork.
Place a plastic moisture vapor barrier on the basement concrete floor and secure it in place using vinyl tape.
Step 3: Adding padding for comfort
Concrete floors are hard and they tend to feel cold and hard when one walks on them. The laminate itself isn’t any softer. If you want the flooring to feel super comfortable under your feet, add a layer of padding on top of the moisture barrier.
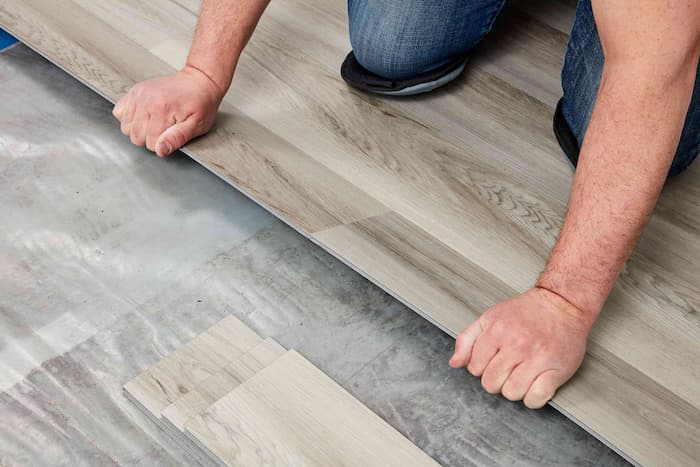
Step 4: Installing the laminate flooring
Before starting, ensure the subfloor is clean, dry, and level. Let the laminate flooring acclimate to the room temperature and humidity for at least 48 hours in the basement.
Tools and materials you’ll need:
- Laminate flooring planks
- Spacers (for expansion gaps)
- Tape measure
- Utility knife
- Rubber mallet
- Pull bar and tapping block
- Jigsaw or circular saw
- Safety gear (gloves, goggles, knee pads)
Installation Steps:
- Plan the Layout: Measure the room and plan your layout to avoid having very narrow planks along the walls. Start installation from the longest, most visible wall.
- Use Spacers for Expansion Gaps: Place spacers between the wall and the first row of planks to maintain a 1/4-inch expansion gap. This prevents buckling as the floor expands and contracts with humidity.
- Install the First Row: Lay the first row of planks with the tongue side facing the wall. Connect each plank end-to-end using the click-lock system. Cut the last plank to fit, if necessary.
- Continue Row by Row: Stagger the joints in each row by at least 12 inches to create a natural, stable appearance. Use a tapping block and mallet to ensure tight seams without damaging the planks.
- Trim as Needed: Use a jigsaw to cut around door frames, columns, or other obstacles. Ensure the expansion gap is maintained around all fixed objects.
- Finish the Edges: Once the floor is fully installed, remove spacers and install baseboards or quarter-round trim to cover the gaps, without pinning the floor down.
High Standard Installations
The laminate flooring installation process is rather straightforward. If you efficiently manage to follow all the criteria we’ve given, you can rest assured that your floor will be done perfectly and last long. But if you’re not sure you can do the installation perfectly, find a professional to do it for you.
If you decide to leave the installation to the professionals, CSG Renovation can help you. Call us today at (647) 428-0007 to get an estimate. We work with all types of renovations and remodelling, including basement underpinning.
Zeev


Your Dream Space, Right on Schedule! Zeev, Founder
Get Free Estimate and get amazing renovation with remarkable speed!
