
Content
How to Finish Unfinished Basement Stairs
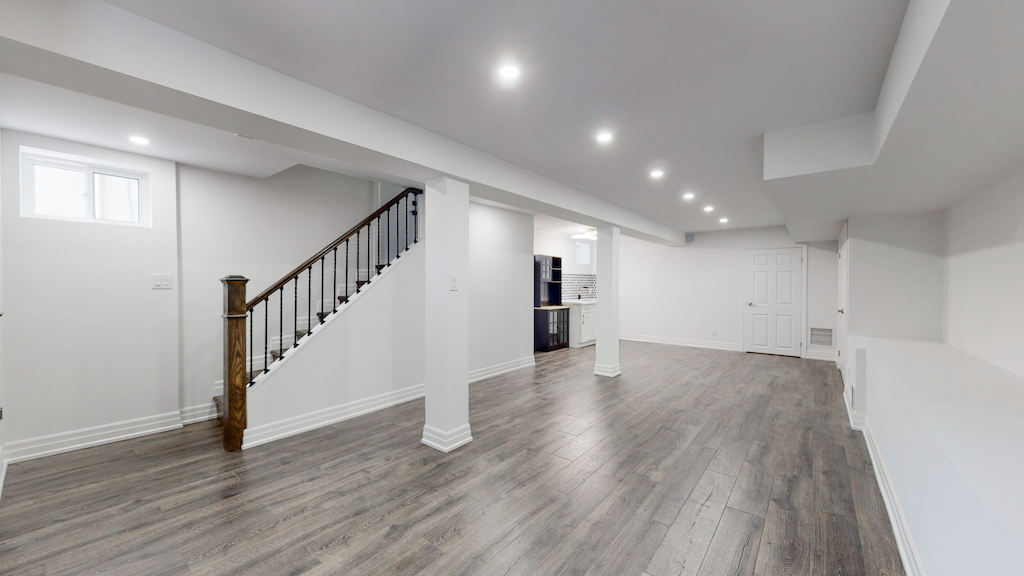
A well-finished staircase not only improves the overall look of your basement but also protects the wood from moisture, provides a safer walking surface, and can even increase the resale value of your home.
Many homeowners put off this task, either because of a limited budget on basement renovation or simply because the basement is out of sight, but finishing a basement staircase is a simple project that you can do yourself with a few basic tools and careful planning.
In this guide, you’ll learn how to inspect, sand, trim, and finish an unfinished basement staircase step by step so that it’s not only functional but also becomes an attractive accent in your basement renovation. Let’s get started!
How to Finish Unfinished Basement Stairs
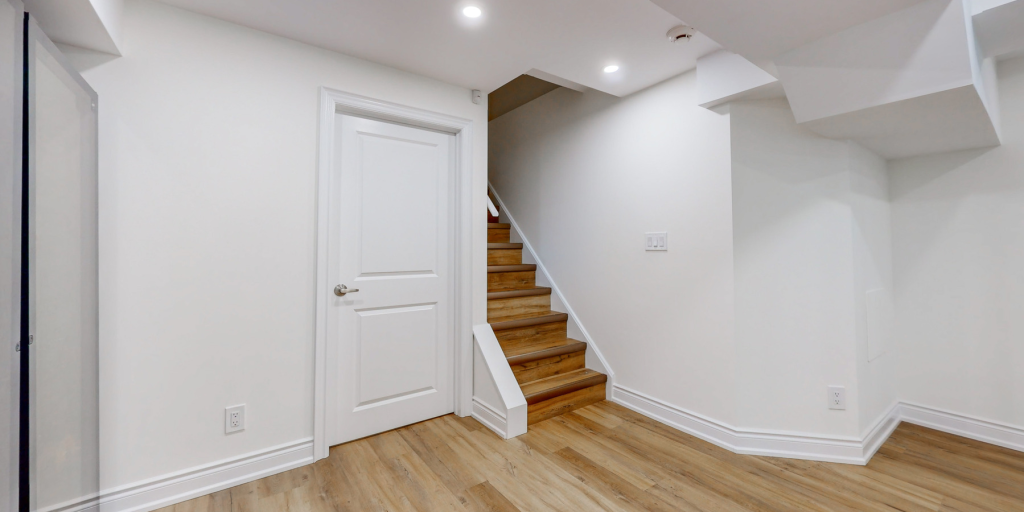
To finish an unfinished basement staircase, conduct a proper examination to determine what else needs fixing before laying down its finish. Remember to examine each of its three main components.
| Stringer | Tread | Riser |
|---|---|---|
|
The entire side part of the staircase.
|
The surfaces we step on the staircase.
|
The connection between the tread and the base of the staircase.
|
|
Ex: Closed stringers
|
Ex: Wooden treads
|
Ex: Riser
|
|
Three types of stingers: housed (closed), sawtooth (open), mono
|
Six types of treads: wood, composite, glass, stone, tiles, steal
|
Two types of riser: base to top rise, tread riser
|
After an initial inspection, you can gather the appropriate tools you need and proceed with the following steps.
Safety Precautions
Before you start finishing the staircase in the basement, pay special attention to safety. Here’s what you’ll need for protection:
Protective equipment:
- Gloves: to protect your hands from splinters and sharp edges.
- Safety goggles or glasses: to protect your eyes from dust and debris, especially when sanding and cutting.
- Dust mask or respirator: to prevent inhalation of fine dust particles that can damage your lungs.
Safety when working with power tools:
If you are using power tools such as a circular saw or rotary sander, always handle them with care:
- Before starting work, make sure that all tools are in good working order.
- Keep your fingers away from cutting edges and moving parts.
- Work in a well-lit area so you can see clearly.
- Make sure the landing is safe to avoid tripping hazards.
Ventilation:
- Dust and smoke can accumulate in basement work areas. Keep windows open or use a fan to ventilate the area.
- Following these safety precautions will not only protect you while you work, but will also help you achieve the best results when finishing your basement staircase.
Step 1: Stringers – Fit & Trim
Take a piece of trim that measures the same length as the stringer, between the top and bottom of the staircase. Choose the same color as your walls, which measure at least an inch for a basic trim.
Nail your trim to the wall with a distance of six inches between each nail. Cover the trim’s edges and nail holes with the same colored spackle. Here, you can layer spackle on any other imperfections anywhere on your stairs.
Don’t worry about perfecting your spackle around stringers or anywhere else. You will be sanding them down.
Step 2: Tread – Sandy Smooth
After your spackle has dried, take an electric sanding device, preferably a rotary sander, and smooth things out. Take your rotary sander and smooth out the surface of your stairs. Don’t just go over the spackle, but all around your staircase’s surface. You shouldn’t skip this step because this allows for a smoother finish. It also helps get rid of imperfections and loose fibers.
Use a flat chisel or any wide-tip scraping tool to carve off any dried adhesive from initial construction and spackling. Scrape off other materials protruding from the tread, riser, and trim.
Step 3: Riser – Cut It Out
Typically, an unfinished staircase will have treads that exceed the riser. You can opt to sand these down, but you should cut out the excess to level your tread with its risers below. You need to match the measurement of your tread to its risers if you are integrating a bullnose.
Measure how much of your tread needs to be taken out with measuring tape and mark your measurements with a marker to be precise. Take a circular saw to cut along the lines indicated by your marker. Remember to be precise with your measurements.
Step 4: Prime Time
Go back in with your rotary saw or use sandpaper to complete surface preparation. Sand through your incisions, surfaces, and other spots you may have spackled. If you are painting over your stairs, you must sand down any lumps, or they will show through the paint.
Ensure it is all smoothened out and adequately leveled. Use a primer to spray through cracks and crevices, especially near the trim. Without primer, the paint might be absorbed into the holes and create an eyesore.
The worst-case scenario of forgoing primer is the paint that leaks into the cracks, builds up moisture, and invites mold into your stairs’ bottom.
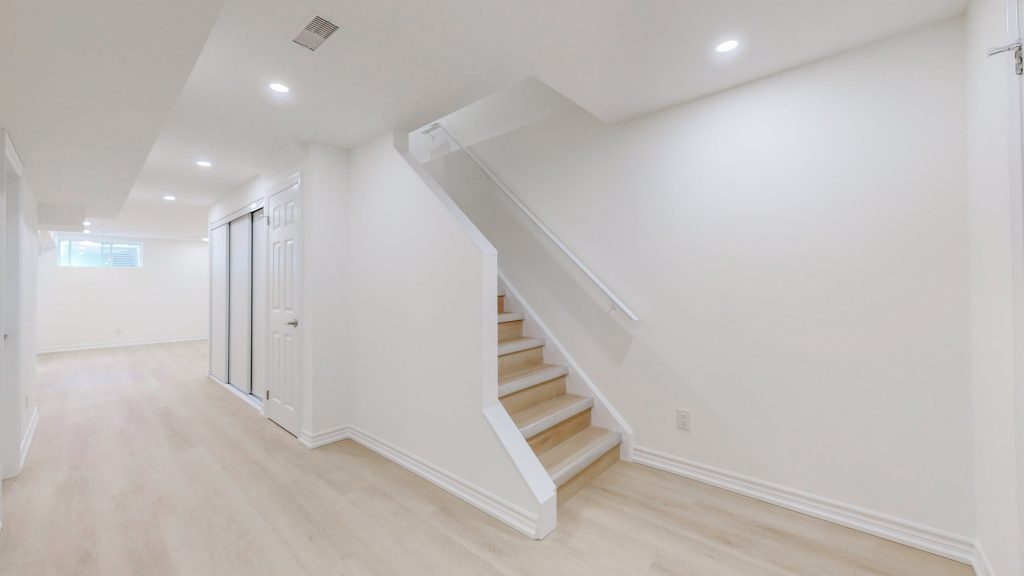
Step 5: Seal The Deal
You can choose between using paint or stain. The key difference between the two is that stain is absorbed into the material, whereas paint sits on top. The fibers of your materials absorb stains without being covered entirely. You can do away with one coat or go in with multiple layers for more vivid colors.
If your raw materials don’t have any characteristics you want to highlight, you can use paint instead. The great thing about paint is you can paint over various materials, including older paints. Stain cannot go through paint and is only suitable for wood.
Generally, we use stain on wooden treads and paint over trimming, rising, and stringers. You can stain your tread with dark mahogany colors and paint other components white to provide a contrast. This provides your stairs with more depth instead of a simpler look. Seal colors using a stain with a polyurethane sealant and use a polyacrylic one for paint.
Material Recommendations
Primer
- Water-based primer: Great for basement stairs because it dries quickly and helps prevent mold growth.
- Stain-blocking primer: If your stairs have water stains or previous dark marks, use this to stop them from bleeding through your final paint.
Paint
- Acrylic-latex paint: Durable, easy to clean, and resists moisture, making it perfect for basement environments.
- Anti-slip additives: Consider adding these to your paint to improve traction and reduce slip risks on the treads.
Stain
- Oil-based wood stain: Provides rich color and deep penetration into wooden treads, highlighting natural grain.
- Water-based stain: Dries faster and has lower odor, though it may not penetrate as deeply as oil-based options.
Sealers/Topcoats
- Polyurethane sealant (for stains): Adds a durable, water-resistant finish to stained wood surfaces.
- Polycrylic sealer (for painted stairs): Offers a protective layer over painted surfaces, helping them resist scuffs and moisture.
Wood Fillers & Spackle
- Use wood filler for deep gouges or imperfections in wooden treads.
- Lightweight spackle works well for minor surface fixes on stringers and risers.
Flawless Finish
Your stairs should be fully revamped after smoothing them out, coloring them, and sealing them. Remember, finishing your stairs doesn’t have to be an entire production.
Of course, you can opt for more integrations into its designs, but a basic finish can give your stairs a whole new look. You can also add innovative functions like pin lights and sensors. It’s all up to you, but for a basic finish, you are all done!
Call us at (647) 428-0007 for a consultation on your renovation needs. We do all types of finishing work and remodelling such as basement underpinning.
Also read how to finish open basement stairs.
Zeev


Your Dream Space, Right on Schedule! Zeev, Founder
Get Free Estimate and get amazing renovation with remarkable speed!
