
Content
Steps to Basement Finishing
With the concrete walls and floor, you most probably think that your basement has no value. This is not the case. With a good finish, the value of your home is likely to go up. Homes with good basement finishes fetch a fortune in Toronto. It is therefore important that you find out what it will cost you to finish the basement by either hiring a contractor or opting for DIY.
What to Do Before You Start Renovating Your Basement
Basement finishing is often reduced to three simple items: finishing the walls, floor and ceiling. However, let’s face it, some things are just as important and just as difficult, but you have to do them if you don’t want to face fines, mould and having to redo everything.
- Obtaining permits:
In Canada, most municipalities require permits for basement finishing, especially if structural changes, electrical work, plumbing or adding living space are involved. Consult with your local building department, get inspections, and obtain a permit before proceeding.
Inspections are necessary because they ensure compliance with safety codes, such as fire safety requirements for bedrooms (minimum window size) and proper ceiling heights.
Lack of permits can lead to fines, forced removal of work or problems when selling the home. - Moisture Control:
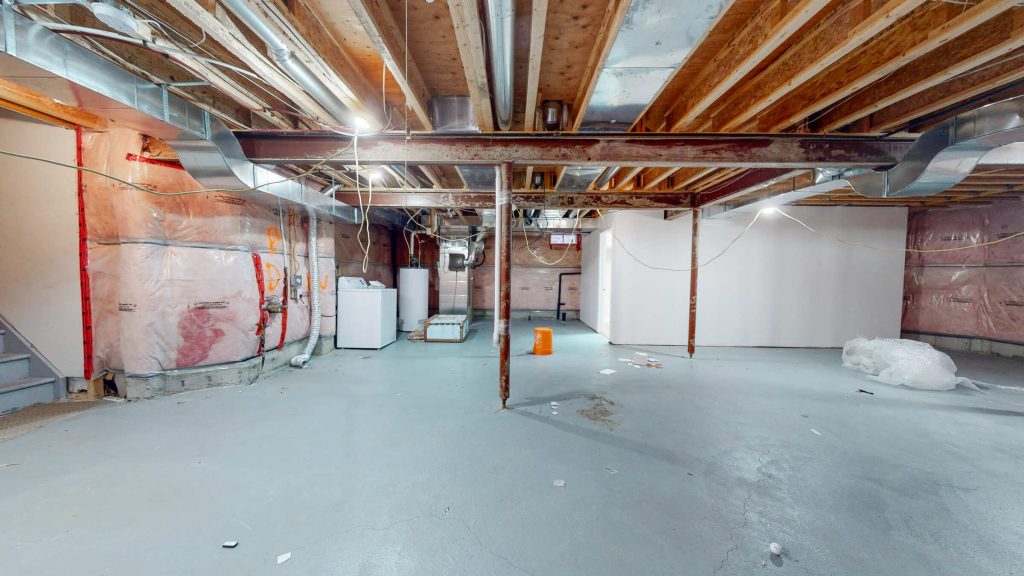
Check for leaks or moisture problems. Check the walls and floor with a moisture meter.
If there are cracks, seal them with hydraulic cement. Apply waterproofing paint or membrane if necessary.
Install a sump pump and proper drainage if the room is prone to water infiltration. - Structural Inspection:
Inspect foundation walls for cracks and sagging. Reinforce weak areas with carbon fibre straps or wall anchors. Make sure beams and joists are in good condition – replace rotting or insect-damaged wood.
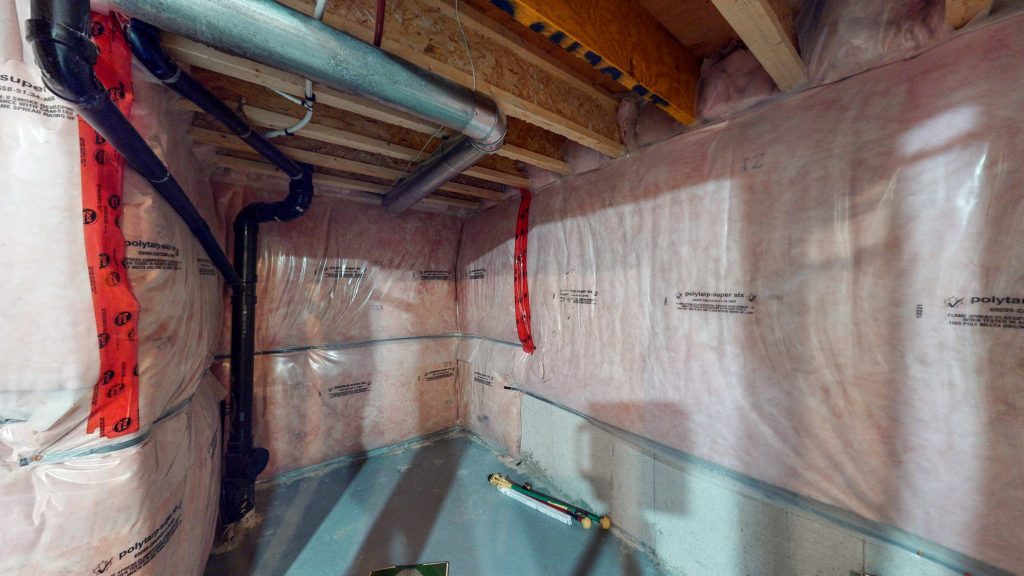
- Insulation and vapour barrier:
Use rigid foam or expanded polystyrene for better moisture resistance. Avoid laying fibreglass boards directly on concrete. Install a continuous vapour barrier if required by the code. - HVAC and Ventilation:
Extend ductwork or install a dedicated heating/cooling unit. Ensure proper air circulation with vents or a dehumidifier to prevent mould growth. - Electrical and Plumbing:
Plan outlets, lighting, and electrical circuits before you start finishing walls. Use GFCI outlets near potential sources of moisture. If you are adding a bathroom, make sure drainage is properly sloped and ventilation is available.
Steps to Finishing Your Basement
How to Finish the Basement Walls
This is where to start if your basement is bare concrete. Finishing the basement walls involves a number of steps.
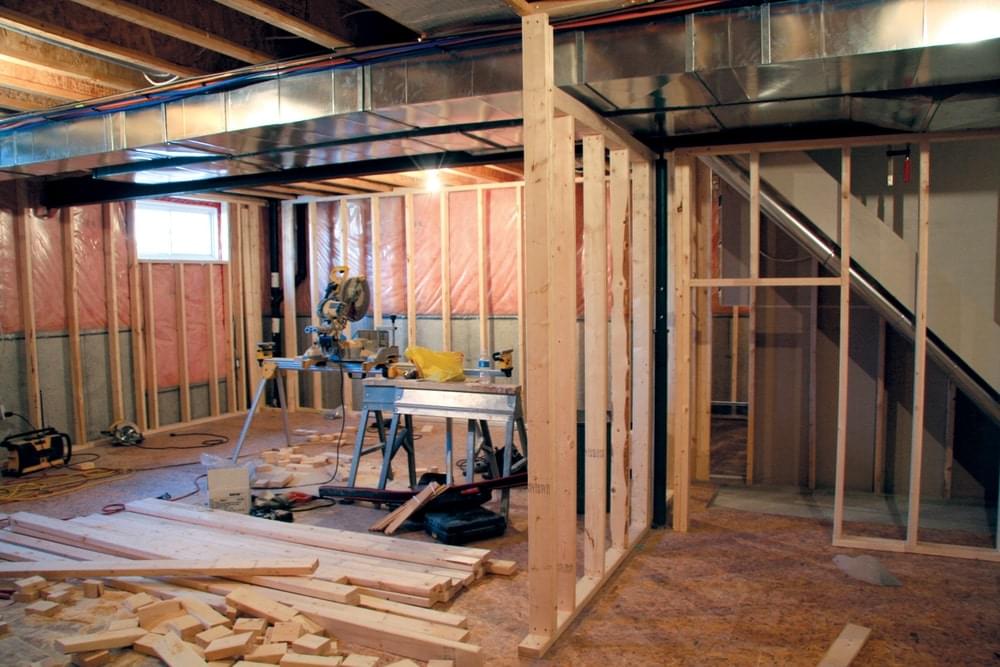
Step 1: Install Insulation
Install polystyrene foam to insulate the walls of the foundation directly. When you are through with the installation process, you can go ahead and install drywall.
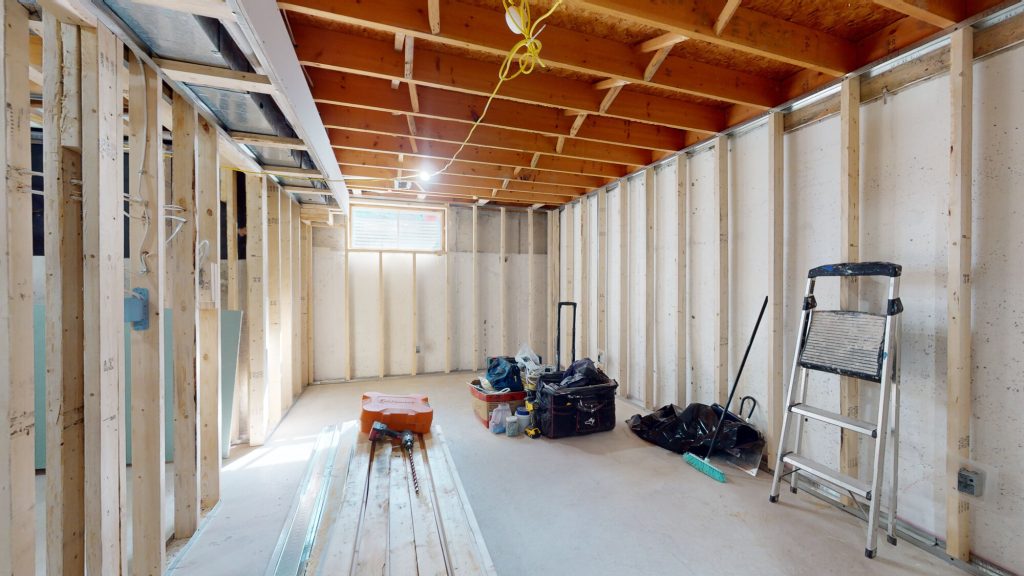
Step 2: Frame Your Walls
It is imperative that you take the right measurements of the wall before embarking on making the frames. The frames will help you in the installation of the drywall.
Step 3: Install Drywall
You can now hang your drywall on the frame. Make sure that create access holes on the drywall sheet. These holes will carter for the valves and the outlets. This should be done using a drywall knife.
How to Finish the Basement Floor
When you are through with the basement walls, you can shift your focus on the basement’s floor. The best way to go about this is to use waterproof materials on the floor. This will prevent unnecessary leakages and flooding in your basement.
Step 1: Choose a New Flooring for Your Finished Basement
You can proceed to choose a flooring option that best suits your budget and preference. These flooring options include vinyl, tiles and carpet. You should then learn how to install both flooring and subflooring.
Step 2: Install Subflooring and Flooring
Ensure that the floor is moisture-free before you install the subflooring and ultimately flooring. The subflooring should be done using both plywood and polystyrene sheets. You should also install a moisture barrier.
How to Finish Your Basement Ceiling
There is a need to hide the pipes, wires and vents that could be visible in the basement. These steps will help you realize this.
Step 1: Choose Your Ceiling Type
By installing a ceiling in the basement, you give it a more attractive and complete look. You have two types of ceiling that you can install. The first one is drop-ceiling. The second option that you can use is a drywall ceiling. If the ceiling is already low, just paint or install drywall in the ceiling.
Step 2: Install Your Ceiling
When installing the ceiling, make sure that you have all the required tools and materials in place. To effectively install the ceiling, use the manufacturer’s instructions.
Finally
Well, now you see the whole front of the work, you can assess your strength in the upcoming journey and it’s time to make a decision: you go this way on your own or trust the professionals.
If you have any issues that need to be addressed, be sure to check out our basement renovation services. CSG Renovation has been working on global structural repairs for homes, basements, including basement underpinning, and flats for over 10 years, and we’re on call at (647) 428-0007 and ready to help you.
Zeev


Your Dream Space, Right on Schedule! Zeev, Founder
Get Free Estimate and get amazing renovation with remarkable speed!
